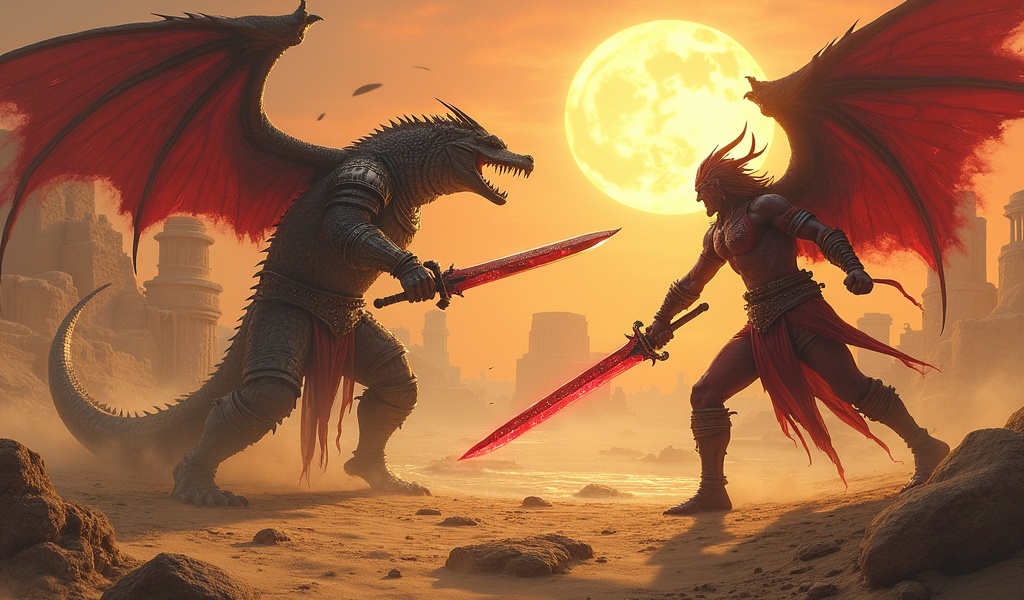
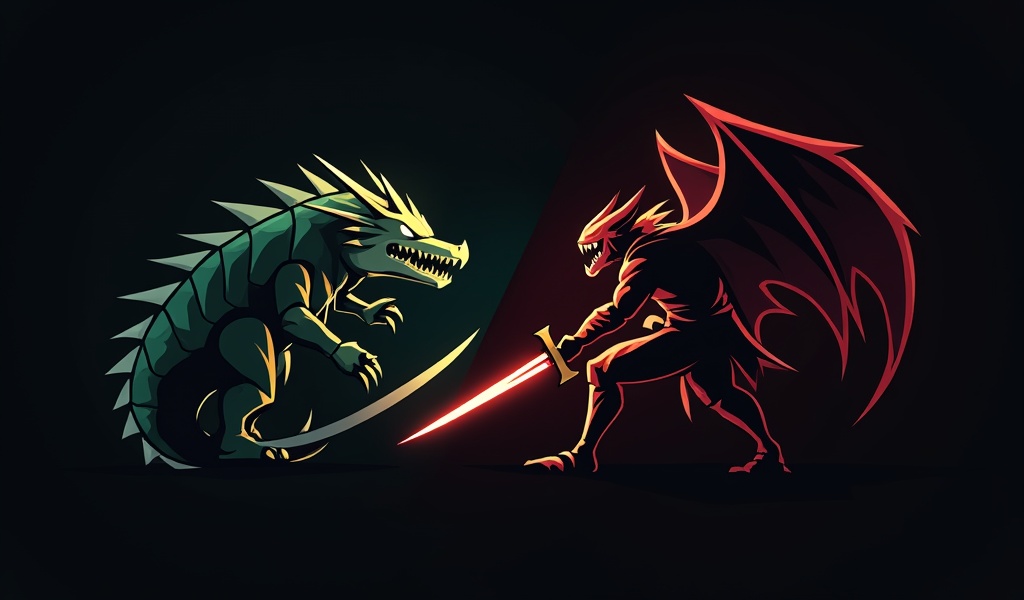
Renekton vs Aatrox: Ultimate Matchup Guide to Win Lane
Find Your Counter Pick & Track Your Champion Pool
Use our free tools to counter any champion, take a quiz to find your perfect main, and track your practice sessions.
Overview
The Renekton vs Aatrox matchup is a skill-intensive top lane duel where Renekton dominates early levels through aggressive trading and burst damage, but Aatrox outscales significantly after completing core items like Black Cleaver and Death’s Dance. Success requires mastering trading patterns, fury management for Renekton, and patient farming for Aatrox until crucial power spikes shift the matchup dynamic from early game dominance to late game teamfight supremacy.
Table of Contents
- Understanding the Renekton vs Aatrox Matchup
- Champion Strengths and Win Conditions
- Early Game Strategy and Level 1-3
- Trading Patterns and Combo Execution
- Itemization and Build Paths
- Mid to Late Game Transitions
- Common Mistakes to Avoid
- Conclusion
The Renekton vs Aatrox matchup is one of the most skill-intensive duels in the top lane, where timing, wave management, and cooldown tracking determine who dominates. Both champions are lane bullies with strong all-in potential, but they approach fights very differently. Understanding these differences will give you the edge needed to consistently win this matchup and snowball your lead into victory.
Whether you’re a Renekton main looking to crush Aatrox or trying to understand how to survive as the Darkin Blade, this guide covers everything you need. We’ll break down trading patterns, itemization choices, and strategic decisions that separate good players from great ones. By the end, you’ll have a complete game plan for handling this matchup at any rank.
Understanding the Renekton vs Aatrox Matchup
This matchup heavily favors Renekton in the early levels when executed correctly. Renekton’s short cooldowns and sustained damage output give him a significant advantage before Aatrox completes his first item. However, the window of opportunity closes as the game progresses and Aatrox scales into a teamfight monster.
The key to winning as Renekton lies in establishing early dominance before level 6. Aatrox relies on landing his Q sweet spots to trade effectively, while Renekton can dash in, deal burst damage, and dash out before Aatrox can retaliate. This fundamental difference in trading patterns defines the entire laning phase.
As Aatrox, your goal is simple survival until you have enough items to match Renekton’s damage. One mistake can lead to a snowball that’s nearly impossible to recover from. Position carefully, respect Renekton’s fury bar, and look for opportunities when his abilities are on cooldown.
Champion Strengths and Win Conditions
Renekton excels at short, bursty trades where he can use his double dash to engage and escape. His empowered W provides a guaranteed stun that sets up his full combo, making him incredibly dangerous with 50+ fury. Additionally, his ultimate gives him bonus health and area damage, turning close fights in his favor.
For those learning Renekton mechanics, mastering fury management is essential in this matchup. Save your empowered abilities for crucial trades rather than wasting them on minion waveclear. Renekton’s win condition is creating an early gold lead through kills or zone pressure, then using that advantage to roam or take objectives.
Aatrox brings sustained damage and impressive healing to extended fights. His Q chain provides massive area damage if he lands the sweet spots, and his passive auto-attack deals percentage health damage. Once he completes Black Cleaver and Death’s Dance, he becomes incredibly difficult to kill while dishing out consistent damage.
Understanding Aatrox’s kit fundamentals helps you predict his movements and dodge crucial abilities. Aatrox’s win condition involves safely farming until item spikes, then dominating teamfights with his resurrection ultimate and area-of-effect damage. He scales much better than Renekton into the late game.
Early Game Strategy and Level 1-3
The first three levels determine the entire laning phase in the Renekton vs Aatrox matchup. As Renekton, you want to start trading aggressively at level 2 when you have both Q and W available. Aatrox is significantly weaker before he has all three Q charges unlocked at level 3.
Build fury on the minion wave before engaging Aatrox. Once you have 50 fury, dash through a minion toward Aatrox, land your empowered W, follow with Q for healing, then auto-attack and dash out. This combo chunks Aatrox’s health while keeping you healthy through your Q sustain.
As Aatrox, focus on last-hitting safely and using your Q’s range advantage to poke Renekton. Never use all three Q charges for waveclear when Renekton has his dash available. Keep at least one Q ready to create distance if he engages, and try to land your W chain when he commits to a trade.
Wave management matters tremendously in these early levels. Renekton should look to freeze the wave near his tower, forcing Aatrox to overextend for farm. Aatrox should try to push early and establish a level 2 advantage, then play more cautiously once Renekton matches his level.
Trading Patterns and Combo Execution
Renekton’s optimal trading combo involves careful timing and fury management. The standard pattern is E through minions, empowered W, Q, auto-attack, then E out. This entire sequence takes roughly two seconds, giving Aatrox minimal time to respond with his own damage.
Always track your fury bar before committing to trades. Trading without empowered abilities significantly reduces your damage output and stun duration. Against skilled Aatrox players, the extra stun duration from empowered W is crucial for landing your full combo before they can dash away.
For Aatrox, the counterplay involves predicting Renekton’s engage timing. When he dashes in, immediately use your first Q knockup to interrupt his combo or create distance. If he commits his second E dash, you can follow with your own E to stick on him while he’s vulnerable.
Landing your W chain on Renekton after he uses both dashes creates a favorable trade window. He’s forced to walk out of range, giving you time to land multiple Q sweet spots. However, never fight Renekton when he has his ultimate available and you don’t—his stat boost makes extended trades heavily favor him.
Key trading windows to exploit as Renekton:
- When Aatrox uses Q on the wave for farm
- Immediately after Aatrox misses his W chain
- When Aatrox’s E dash is on cooldown
- Right after hitting level 6 before Aatrox can match
Itemization and Build Paths
Renekton’s first item should almost always be Black Cleaver in this matchup. The armor shred, health, and ability haste synergize perfectly with his kit, letting him shred through Aatrox’s armor. For boots, Plated Steelcaps reduce Aatrox’s auto-attack damage including his passive procs.
Consider rushing Executioner’s Calling early if Aatrox is successfully farming and healing effectively. The 800 gold investment significantly reduces his sustain in trades, making it much harder for him to stabilize the lane. You can complete it into Mortal Reminder later in the game.
Aatrox should prioritize Black Cleaver into Death’s Dance as his core build path. These items provide the perfect combination of damage, survivability, and ability haste that Aatrox needs to function. Plated Steelcaps are also excellent against Renekton’s auto-attack-heavy trading pattern.
Consider building an early Chain Vest component before completing Black Cleaver if Renekton is heavily ahead. Sometimes surviving the lane phase is more important than rushing your ideal build path. According to Riot’s official data, defensive itemization in losing matchups improves comeback potential significantly.
Third item choices depend heavily on team compositions. Renekton benefits from Sterak’s Gage for survivability or Serylda’s Grudge for additional armor penetration. Aatrox scales incredibly well with Spirit Visage or additional health items that amplify his healing mechanics.
Mid to Late Game Transitions
The power dynamic shifts dramatically as both champions complete their first two items. Renekton’s early game dominance begins to fade while Aatrox becomes a teamfight powerhouse. Understanding this transition helps you make better macro decisions and avoid throwing your early lead.
As Renekton, you need to translate your lane advantage into objective control and map pressure. Don’t just sit top lane trying to 1v1 Aatrox repeatedly—use your lead to secure Rift Herald, invade the enemy jungle with your team, or roam mid for kills. Your impact in skirmishes is still very strong during the mid game.
Split pushing becomes more complex as the game progresses. Renekton can still match Aatrox in the side lane, but the fights take longer and Aatrox’s healing makes him harder to kill. Look for opportunities to join your team for objectives rather than forcing extended duels that favor Aatrox’s scaling.
Aatrox becomes the superior teamfighter once he completes Death’s Dance. His area-of-effect damage and sustain make him incredibly valuable in grouped scenarios. If you survived the early game as Aatrox, start looking for teamfight opportunities where you can utilize your ultimate and land multi-person knockups.
Similar to other skill matchups like Jax vs Aatrox, proper mid-game decision-making determines who ultimately wins the game. Don’t get caught in the trap of endlessly fighting in the side lane while objectives slip away. Both champions should be looking at the minimap constantly for rotation opportunities.
Common Mistakes to Avoid
The biggest mistake Renekton players make is wasting their fury on non-empowered abilities. Every trade should involve at least one empowered ability, preferably your W for the extended stun duration. Trading with low fury deals significantly less damage and gives Aatrox opportunities to trade back effectively.
Another common error is diving Aatrox under tower without proper setup. His ultimate gives him a resurrection, making tower dives extremely risky even when he’s low health. Wait for jungle assistance or poke him down significantly before attempting any aggressive tower dives in this matchup.
Aatrox players frequently misposition and get caught by Renekton’s double dash range. Respect the threat zone when Renekton has both dashes available—it’s much larger than it appears. Stand behind your minion wave and use your Q range advantage rather than walking up for risky CS.
Using all three Q charges on the minion wave is another critical mistake. You need at least one Q available to respond if Renekton engages. Waveclear is important, but staying healthy and avoiding deaths matters more than getting a few extra minions.
Both champions sometimes forget about jungle proximity. This matchup is volatile and prone to ganks since both players are often trading aggressively. Ward properly and track the enemy jungler’s location before committing to extended trades. Working with specialized top lane coaching can help you develop better map awareness habits.
Common pitfalls to avoid:
- Fighting without tracking major cooldowns
- Ignoring wave state and overextending
- Building full damage when behind
- Neglecting vision control in river and tribush
- Taking unnecessary risks after winning lane
Gear That Helps Me Climb
Gear that helps me climb: