Overview
The baron dancing guide provides a comprehensive seven-step strategy for mastering the tactical standoffs around Baron Nashor in League of Legends, covering everything from vision control and team positioning to decision-making and communication. This advanced technique creates win-win scenarios where teams either secure the powerful Baron buff or catch opponents making positioning errors, ultimately separating good teams from great ones in mid to late game situations.
Table of Contents
What is Baron Dancing in League of Legends?
Baron dancing is a crucial tactical element in League of Legends that can make or break your climb up the ranked ladder. At its core, a baron dancing guide teaches players how to navigate the high-stakes standoffs that occur around the Baron Nashor pit during the mid to late game. This strategic dance involves positioning, vision control, and split-second decision making that separates good teams from great ones.
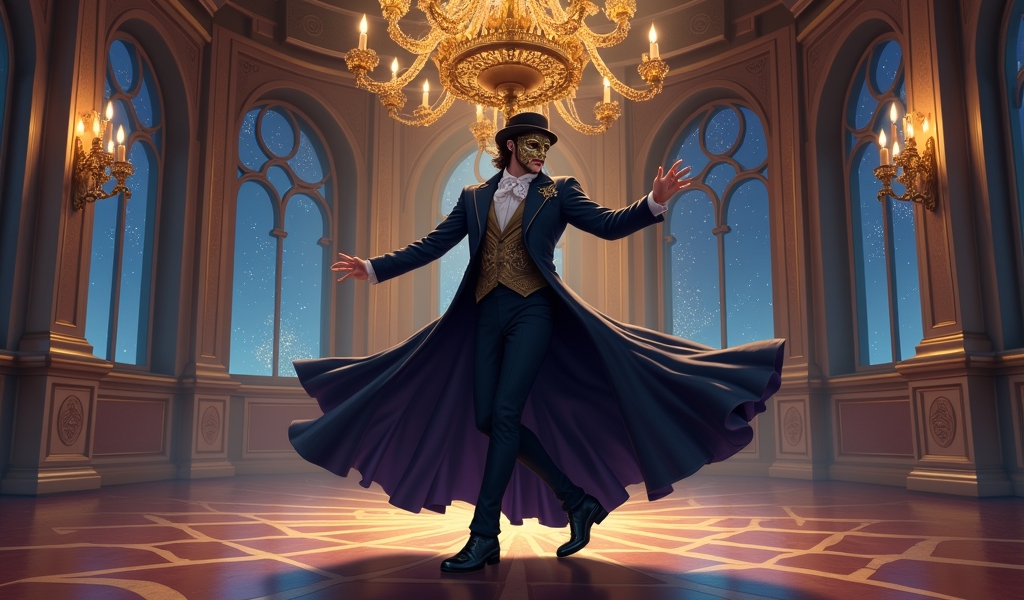
The term “baron dancing” refers to the cautious movement and positioning of teams as they jockey for advantage around this powerful objective. Unlike straightforward team fights, baron dancing involves patience, calculated risks, and psychological warfare. Teams circle the objective, looking for openings while maintaining safe positions – much like nobility circling a ballroom floor, waiting for the perfect moment to make their move.
In this comprehensive baron dancing guide, we’ll break down the essential steps to master this advanced technique that can dramatically improve your objective control skills and win rate. Whether you’re a solo queue warrior or part of a coordinated team, understanding the art of baron dancing will elevate your gameplay to new heights.
The Importance of Baron Dancing in Game Strategy
Baron dancing is not just a fancy term – it’s a fundamental aspect of high-level League of Legends gameplay. The Baron Nashor buff provides game-changing advantages that can turn the tide of even the most challenging matches. Understanding how to control this area of the map often determines which team secures this powerful objective and, consequently, which team wins.
Successful baron dancing creates win-win scenarios for your team. If executed properly, you either secure the objective or catch opponents making positioning errors that lead to advantageous fights. This is why professional teams and high-elo players place such emphasis on mastering this technique.
The importance of baron dancing grows exponentially as the game progresses. After the 20-minute mark, a well-executed baron dance can create the pressure needed to break open a stalemate or come back from a deficit. Learning proper baron dancing techniques is essential for anyone looking to improve their LoL skills and climb the ranked ladder.
Step 1: Establishing Vision Control Around Baron
The foundation of any successful baron dancing guide begins with vision control. Without proper vision, you’re essentially dancing blindfolded – a recipe for disaster. Vision allows you to track enemy movements, identify openings, and make informed decisions about when to engage or disengage.
Start by establishing a vision triangle that covers the three key entrances to the baron pit area. This includes:
- Control wards inside the baron pit itself
- Stealth wards in the pixel brush and blue-side jungle entrance
- Vision in the river and red-side jungle approach
Simultaneously, use sweepers and control wards to deny enemy vision. According to official League statistics, teams with superior vision control around Baron have a significantly higher win rate, especially in games lasting beyond 25 minutes.
Remember, vision control is not a one-time task but an ongoing process. As a support or jungler, continuously refresh wards as they expire and adapt your vision strategy as the dance evolves. Teams with proper map awareness gain tremendous advantages during baron dances.
Step 2: Understanding Team Compositions and Power Spikes
Every successful baron dancing guide emphasizes the importance of understanding both your team composition and that of your opponents. Different champions excel at different aspects of baron dancing – some are great at zoning, others at securing the objective quickly, and some specialize in turning and engaging fights.
Assess your team’s strengths honestly. Do you have strong front-line champions that can zone enemies away? Are your carries capable of bursting down Baron quickly? Does your composition excel at team fighting or at creating picks? These questions should guide your approach to baron dancing.
Similarly, be aware of power spikes for both teams. If your mid laner just completed their third item while enemy carries are still working on their second, this timing advantage should factor into your baron dance strategy. Conversely, if the enemy team has just hit a significant power spike, it might be wiser to play more defensively.
Timing is everything in baron dancing. Professional coaching often emphasizes this aspect, as understanding when your team is strongest relative to the enemy team can make or break your baron play. Smart teams dance to the rhythm of their power spikes, not just blindly following the game clock.
Step 3: Positioning Fundamentals for Effective Baron Dancing
Proper positioning is perhaps the most technical aspect of a comprehensive baron dancing guide. Think of this step as learning the formal dance steps that nobility would use at a grand ball – precision matters. Each role has specific positioning requirements during a baron dance.
For frontliners (typically top laners and junglers):
- Position at choke points to zone enemies and protect your team
- Be ready to engage if enemies misposition
- Create a buffer between your backline and the enemy team
For carries (mid and ADC):
- Stay behind your frontline but within range to deal damage if needed
- Position near walls that allow for escape if the situation turns
- Be ready to pivot between targeting Baron and fighting enemies
For supports:
- Position to protect carries while maintaining vision control
- Be ready to use utility abilities to disengage unfavorable fights
- Coordinate with the jungler on objective securing abilities
The classic “death bush” setup can be particularly effective during baron dances. This involves hiding key members in brushes near baron while baiting enemies into face-checking. This tactic has been a staple of advanced macro strategy for years and remains effective even at the highest levels of play.
Step 4: Baiting Techniques to Force Enemy Mistakes
Baiting is a psychological component of baron dancing that separates good players from great ones. An effective baron dancing guide must include these mind games, as they often create the openings needed to secure advantages without risky 50/50 smite fights.
The most common baiting technique is the “start-stop” method. Begin attacking Baron with enough damage dealers to make it look convincing, then immediately pull off when enemies approach. This forces them to make difficult decisions – continue approaching into potential ambush or retreat and potentially waste time.
Another effective bait is the “split bait,” where part of your team shows elsewhere on the map while others hide near Baron. When enemies commit resources to the visible players, the hidden squad can either take Baron or catch enemies rotating in smaller numbers.
Remember that patience is your ally when executing baits. Professional jungler coaching often emphasizes the importance of not rushing these plays. A well-executed bait might take 30-60 seconds to develop but can result in game-winning advantages when done properly.
Step 5: Decision Making – When to Turn, Take, or Back Off
Perhaps the most challenging aspect of baron dancing is knowing when to commit to different actions. This decision-making process is the heart of any baron dancing guide and requires both experience and quick thinking. There are three primary decisions during a baron dance: turn (fight), take (secure baron), or back off.
Turn when:
- You catch enemies out of position or divided
- You spot key enemy cooldowns being used
- Your team has a significant numbers advantage (4v5 or better)
Take Baron when:
- Enemy jungler is visible elsewhere on the map
- You have a secure vision perimeter and know enemies cannot contest
- Your team composition can burst Baron quickly and safely
Back off when:
- You lose vision of multiple enemies
- Your team becomes split or out of position
- The enemy has superior positioning for a potential fight
According to data from OP.GG’s champion statistics, teams that make hasty baron attempts without proper setups lose approximately 70% of those games. Patience and clear decision-making are crucial components of effective baron dancing.
Improving your team fighting capabilities will also enhance your ability to make the right calls during baron dances, as you’ll better understand when your team can win a fight around this objective.
Step 6: Communication Strategies During Baron Dances
Communication can make or break baron dancing attempts, especially in team environments. A comprehensive baron dancing guide must address how teams should communicate during these tense standoffs to ensure everyone is on the same page.
Establish clear shotcalling responsibilities before the game begins. Typically, junglers or supports take this role due to their map-wide perspective and objective focus. Having too many voices can lead to hesitation or conflicting calls.
Use concise callouts that convey maximum information with minimum words. For example, “No Flash Jinx” or “Sweeping top entrance” provides actionable intelligence without cluttering comms. This becomes particularly important during the tension of baron dances.
Develop and use consistent terminology with your team. Terms like “turn,” “reset,” “bait,” and “commit” should have clear, agreed-upon meanings to prevent miscommunications. Even casual players can benefit from establishing basic communication patterns with regular teammates.
For newer players just learning these concepts, beginner-friendly coaching can help establish good communication habits from the start. Good communication during baron dances often determines which team walks away with the buff.
Step 7: Adapting Your Baron Dance to Different Game States
The final key step in our baron dancing guide involves adaptability. Baron dancing looks very different depending on whether your team is ahead, behind, or in an even game state. Learning to adjust your approach based on the current game situation is crucial for consistent success.
When ahead, baron dancing should be more assertive. Use your advantage to force enemies into uncomfortable positions, deny vision aggressively, and be willing to start Baron to force reactions. Your goal is to use the dance to extend your lead, not just secure Baron.
When behind, baron dancing becomes a tool for comebacks. Focus on vision control to prevent the enemy from sneaking Baron, and look for opportunities to catch overconfident opponents. Sometimes just preventing the enemy from taking Baron can buy valuable time to scale.
In even games, baron dancing is truly about outplaying opponents. Focus on superior positioning, better vision control, and more effective baits. The team that masters the psychological aspect of baron dancing often gains the upper hand in these even situations.
Remember that baron dancing is not a rigid process but a fluid one that requires constant adaptation. The best players recognize how their approach should change based on game state, team compositions, and opponent tendencies.
Common Baron Dancing Mistakes to Avoid
No baron dancing guide would be complete without addressing the common pitfalls that plague players across all ranks. Avoiding these mistakes can dramatically improve your success rate around this critical objective.
- One of the most common errors is half-commitment. This occurs when part of the team wants to take Baron while others want to fight or back off. This indecision leads to being caught in vulnerable positions and often results in losing both the team fight and Baron.
- Another frequent mistake is tunnel vision on Baron itself. Many teams become so focused on securing the objective that they ignore enemy positioning or approaching threats. Remember that Baron is a means to victory, not victory itself.
- Ignoring lane states is a subtle but devastating error during baron dances. Always check your minion waves before committing to a baron dance. Super minions pushing your base or unattended waves can create pressure that makes your baron play ineffective even if successful.
Finally, many teams fail to prepare proper escape routes. Always identify how your team will disengage if things go poorly before committing to a baron dance. Having this plan in advance prevents panic and disorganized retreats.
Conclusion
Mastering the art of baron dancing is a journey that requires practice, patience, and strategic thinking. This baron dancing guide has walked you through the seven essential steps needed to elevate your gameplay around this crucial objective. From establishing proper vision control to adapting your approach based on game state, each element builds upon the last to create a comprehensive strategy.
Remember that baron dancing, like actual dancing, improves with practice and experience. You’ll likely make mistakes along the way, but each baron dance provides valuable lessons that will enhance your future performances. The best players learn from both their successes and failures around this objective.
By implementing the strategies outlined in this baron dancing guide, you’ll gain a significant edge in your League of Legends games. This advanced technique often makes the difference between stagnating at your current rank and climbing to new heights. Baron control remains one of the most reliable paths to victory in League of Legends.
So step onto the dance floor, apply these noble moves, and watch as your win rate rises. Baron dancing might seem intimidating at first, but with dedication and the right approach, you’ll soon be leading your team in this strategic waltz with confidence and skill.
Frequently Asked Questions
What exactly is baron dancing in League of Legends?
Baron dancing refers to the strategic positioning, mind games, and vision control that teams employ around the Baron Nashor pit in the mid-to-late game. It involves carefully maneuvering to either secure the objective or catch enemies making mistakes in this high-stakes area of the map.
When should my team start focusing on baron dancing?
Teams should typically begin preparing for baron dancing around the 18-20 minute mark when Baron Nashor spawns. However, the importance escalates after 25 minutes when Baron becomes a primary win condition and teams have enough damage to take it quickly.
Which roles are most important during baron dances?
While every role has specific responsibilities, junglers and supports typically have the largest impact due to their control of vision and objective-securing abilities. Junglers with their smite and supports with their utility and vision control form the backbone of effective baron dancing.
How do we baron dance against a team with better late-game scaling?
Against teams with superior scaling, use baron dancing to force confrontations before they reach their power spikes. Create pressure that forces them to check Baron, then turn for fights when they approach rather than focusing on taking the objective itself.
Is it better to secure Baron or win a team fight during baron dances?
It depends on the game state. If winning a team fight will result in multiple kills and potentially ending the game, that’s usually better than Baron alone. However, if fights are risky or the enemy team respawns quickly, securing Baron and retreating can be the safer option with guaranteed benefits.