
Aatrox vs Renekton: 5 Essential Tips to Dominate Top Lane
Find Your Counter Pick & Track Your Champion Pool
Use our free tools to counter any champion, take a quiz to find your perfect main, and track your practice sessions.
Overview
The Aatrox vs Renekton matchup is a high-stakes top lane duel where Renekton dominates early with reliable damage and point-and-click stun, while Aatrox gains advantage after level 9 with reduced Q cooldowns. Mastering this matchup requires understanding specific trading patterns, wave management, optimized item builds, teamfight positioning, and the ability to adapt your playstyle throughout different game phases.
Table of Contents
Introduction to Aatrox vs Renekton
The Aatrox vs Renekton matchup is one of the most intense and skill-testing duels in League of Legends’ top lane. Both champions are bruisers with strong early game presence, built-in sustain, and the ability to dominate lane when played correctly. However, understanding the nuances of this matchup can be the difference between snowballing to victory and falling behind irreparably.
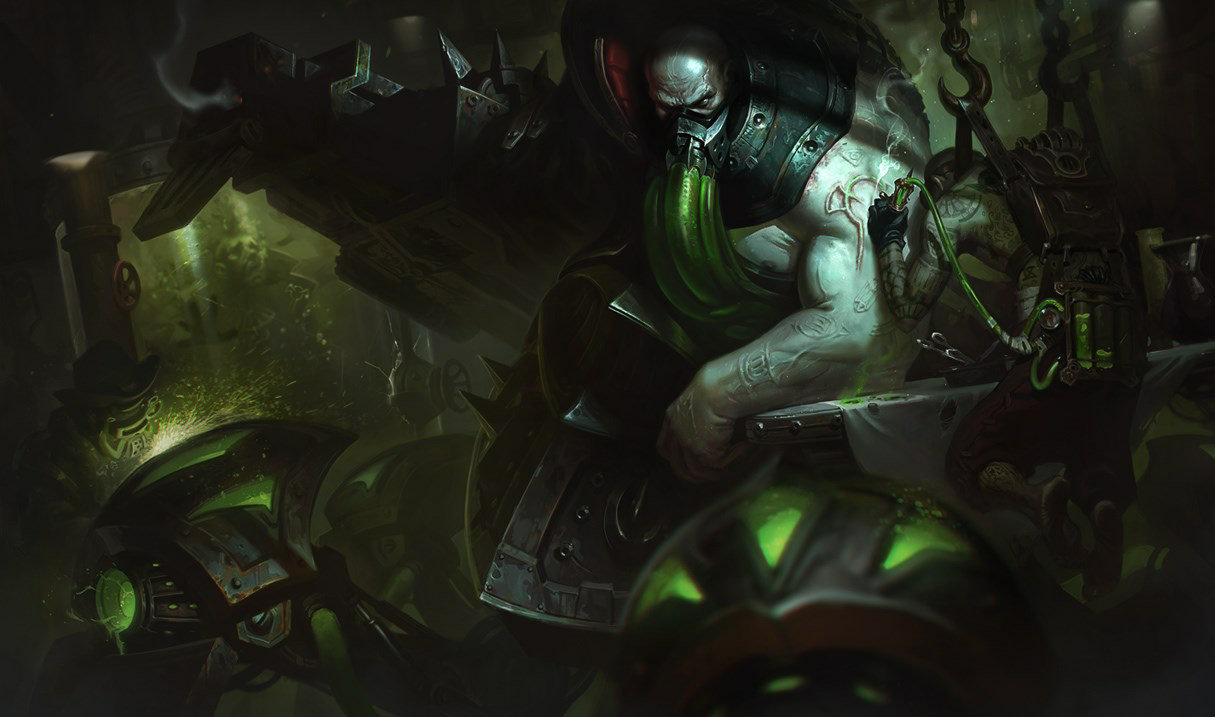
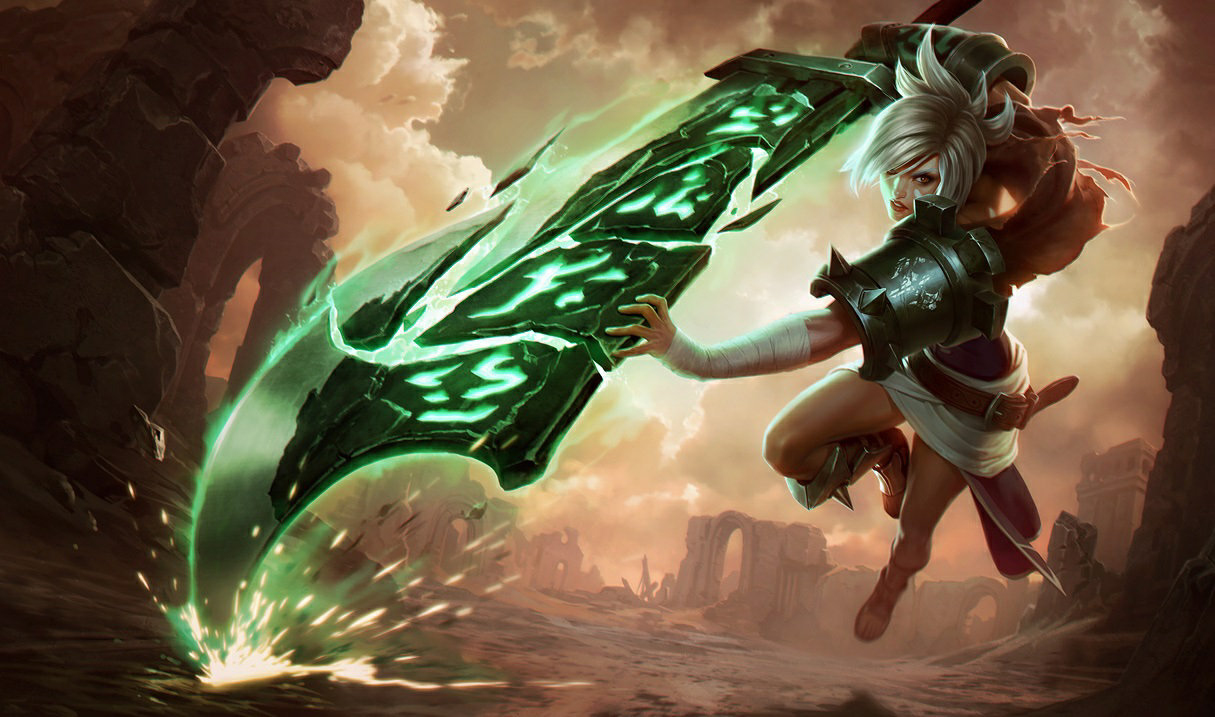
Whether you’re piloting the Darkin Blade or the Butcher of the Sands, this matchup requires precise mechanical execution and strategic thinking. Throughout this guide, we’ll break down the five essential tips that will help you gain the upper hand in this classic top lane battle.
The Aatrox vs Renekton showdown is particularly interesting because both champions have similar strengths but achieve them through different means. Mastering this matchup will not only improve your performance in this specific scenario but will enhance your overall understanding of top lane dynamics in League of Legends.
Understanding the Matchup Dynamics
Before diving into specific strategies, let’s examine what makes the Aatrox vs Renekton matchup so compelling. Both champions excel at extended trades and have strong all-in potential, but they operate on different timelines and resource systems.
Aatrox’s combat pattern revolves around landing his Q sweet spots while managing his E cooldown for repositioning. His passive provides healing and his ultimate amplifies his damage output and sustain significantly. Aatrox typically wants to kite in and out of combat, landing his abilities from a slight distance.
Renekton, on the other hand, thrives on his fury resource and empowered abilities. His trading pattern involves quick in-and-out engagements using his E-W-Q-E combo. Renekton’s kit allows him to stun targets, deal significant damage, and dash away before the enemy can respond effectively.
The matchup tends to favor Renekton in the early levels due to his reliable damage and point-and-click stun. However, Aatrox gains an advantage after completing his first item and reaching level 9, when his Q cooldown is reduced. Understanding this power curve is crucial for both players.

Essential Tip #1: Master the Early Game Trading Patterns
The first few levels determine how the Aatrox vs Renekton lane will unfold. As such, knowing the optimal trading patterns for each champion is essential for establishing lane dominance.
For Aatrox players:
- Maintain distance and use Q’s first cast to poke Renekton when he approaches for CS
- Save your E for dodging Renekton’s dash or repositioning for Q sweet spots
- Wait until level 3 before attempting extended trades
- Track Renekton’s fury bar—never trade when it’s high
- Use your passive auto attack when available for added sustain
For Renekton players:
- Build fury before engaging in trades
- Look to punish Aatrox when his Q and E are on cooldown
- Use empowered W to lock down Aatrox during his Q animation
- Consider taking short trades until level 3, then look for all-ins
- Use the second E dash to disengage before Aatrox can retaliate
Both champions benefit from strong laning fundamentals, including proper spacing and cooldown tracking. Remember, the goal isn’t always to kill your opponent outright—establishing a CS lead and health advantage can be equally valuable.
According to ProGuides matchup statistics, the first blood rate in this matchup is nearly even, highlighting how skill-dependent these early interactions are.
Essential Tip #2: Wave Management Strategies
Wave management can make or break the Aatrox vs Renekton matchup, perhaps more than mechanical outplays. Both champions are susceptible to ganks and rely on positioning to maximize their effectiveness.
For Aatrox players:
- Freeze the wave near your tower if behind—Aatrox can farm safely with Q
- Slow push and crash waves when your ultimate is available for dive potential
- Use Q to thin the wave without pushing too aggressively
- Set up vision before pushing past river to avoid jungle pressure
For Renekton players:
- Use fury-empowered Q to quickly push and reset if you need to base
- Create a slow push before looking for all-ins around levels 3-6
- If ahead, freeze to deny Aatrox access to the wave
- Consider proxying waves when significantly ahead to pressure mid or invade jungle
Both champions benefit from proper wave setup before recalling or making Teleport plays. Remember that in the Aatrox vs Renekton matchup, whoever controls the wave typically controls the lane.
Wave management becomes particularly important around level 6, as both champions gain significant kill pressure with their ultimates. Setting up a favorable wave state before all-ins can dramatically increase your chances of success.
Essential Tip #3: Item Build Optimization
In the Aatrox vs Renekton matchup, adapting your build path can provide a significant advantage. While both champions have standard core items, making small adjustments based on lane state can be game-changing.
For Aatrox players:
- Prioritize Goredrinker for sustain in extended fights
- Consider an early Executioner’s Calling to counter Renekton’s healing
- Build Plated Steelcaps to reduce Renekton’s auto-attack and W damage
- If falling behind, consider a defensive component like Bramble Vest before completing your mythic
- Death’s Dance provides excellent survivability against Renekton’s burst
For Renekton players:
- Blade of the Ruined King gives you the edge in extended fights
- Prowler’s Claw can help you stick to Aatrox when he attempts to kite
- Black Cleaver is highly effective against Aatrox’s armor stacking
- Consider an early Executioner’s Calling to reduce Aatrox’s healing
- Sterak’s Gage provides a shield that can save you during Aatrox’s all-in
Both champions should adjust their builds based on the game state. If you’re ahead, prioritize damage items to snowball your advantage. If behind, focus on defensive options to remain relevant.
Official champion statistics show that build flexibility significantly impacts win rates in volatile matchups like Aatrox vs Renekton. Don’t be afraid to deviate from standard builds when necessary.
Essential Tip #4: Teamfight Positioning and Execution
As the game transitions to the mid and late phases, your role in teamfights becomes crucial. Both Aatrox and Renekton offer different strengths in team scenarios, and knowing how to position can determine your impact.
For Aatrox players:
- Look to flank or engage when enemies are grouped for maximum Q value
- Use ultimate when engaging on multiple targets for increased healing
- Position to hit backline carries while still landing abilities on frontliners
- Save E for repositioning mid-fight rather than initial engagement when possible
- Focus on hitting multiple enemies with your Q sweet spots for team-wide damage
For Renekton players:
- Look for flanks to access enemy backline carries
- Use empowered W to lock down high-priority targets
- Consider flash-engage when enemy carries are out of position
- Save second E dash for escaping after your initial burst
- Time your ultimate for when you’re about to take significant damage
Both champions need to be mindful of their teamfight timing windows. Aatrox generally scales better into the late game, while Renekton’s effectiveness can fall off if he doesn’t maintain his lead.
Remember that in the current meta, professional coaches emphasize objective control over random skirmishes. Position around drake and Baron spawns to maximize your champion’s teamfight potential.
Essential Tip #5: Adapting Your Playstyle Throughout the Game
Perhaps the most crucial aspect of mastering the Aatrox vs Renekton matchup is understanding how to adapt as the game progresses. The power dynamic shifts several times, requiring players to recognize and capitalize on their windows of opportunity.
For Aatrox players:
- Play defensively in levels 1-3, focusing on farm and avoiding extended trades
- Look for opportunities to trade around level 7-9 when your Q cooldown decreases
- Transition to splitting or teamfighting based on team composition after completing core items
- Consider roaming mid with Teleport if Renekton is playing too defensively
- In late game, focus on zoning in teamfights and applying side lane pressure
For Renekton players:
- Aggressively contest the wave in early levels to establish dominance
- Look for all-in opportunities around level 3 and again at level 6
- Consider roaming to help secure early Heralds and Dragons
- Transition to a disruptive role in mid-game, targeting carries in teamfights
- In late game, look for flanks and picks rather than front-to-back fighting
Both champions should adjust their playstyle based on team composition. If your team lacks engage, you might need to fill that role. If you have strong carries, focus on peeling and disruption instead.
Players who master multiple matchup dynamics typically climb faster, as noted by Mobalytics’ top lane guides. The flexibility to adapt is what separates good top laners from great ones.
Gear That Helps You Climb
The right mouse, keyboard, and monitor won’t win you games — but they remove excuses. See what the pros actually use.
View Recommended Gear Mice, keyboards, monitors, headsets & more — researched from pro setupsConclusion
The Aatrox vs Renekton matchup is a nuanced battle of timing, mechanics, and strategic thinking. By mastering the early game trading patterns, implementing proper wave management, optimizing your build path, understanding teamfight positioning, and adapting your playstyle throughout the game, you’ll significantly increase your chances of dominating this top lane confrontation.
Remember that both champions offer unique strengths and weaknesses that shift as the game progresses. Aatrox generally scales better into the late game, while Renekton holds the advantage in early skirmishes. Being mindful of these power curves allows you to capitalize on your windows of opportunity.
Whether you’re an Aatrox main looking to handle the crocodile or a Renekton enthusiast wanting to take down the Darkin Blade, the key is practice and adaptability. Keep refining your approach to the Aatrox vs Renekton matchup, and you’ll climb the ranked ladder in no time.
For those looking to further enhance their League experience, check out some exclusive League of Legends merchandise to represent your main champion in style!
Frequently Asked Questions
Who wins early game in Aatrox vs Renekton?
Renekton typically has the advantage in the early game (levels 1-5) due to his point-and-click stun and reliable damage combo when fury-empowered.
When does Aatrox outscale Renekton?
Aatrox begins to outscale Renekton around level 9 when his Q cooldown is significantly reduced and after completing his first item, usually Goredrinker.
What summoner spells are best for this matchup?
Both champions generally take Teleport and Flash, though Ignite can be substituted for Teleport if looking for early kill pressure, especially for Renekton players.
How should I build against Aatrox as Renekton?
Against Aatrox, prioritize early Executioner’s Calling to reduce his healing, followed by damage items like Blade of the Ruined King or Black Cleaver to cut through his armor.
Which runes work best for Aatrox against Renekton?
Conqueror is essential on Aatrox against Renekton, paired with Resolve secondary (Bone Plating and Revitalize/Unflinching) to survive the early aggression and scale into mid-game.