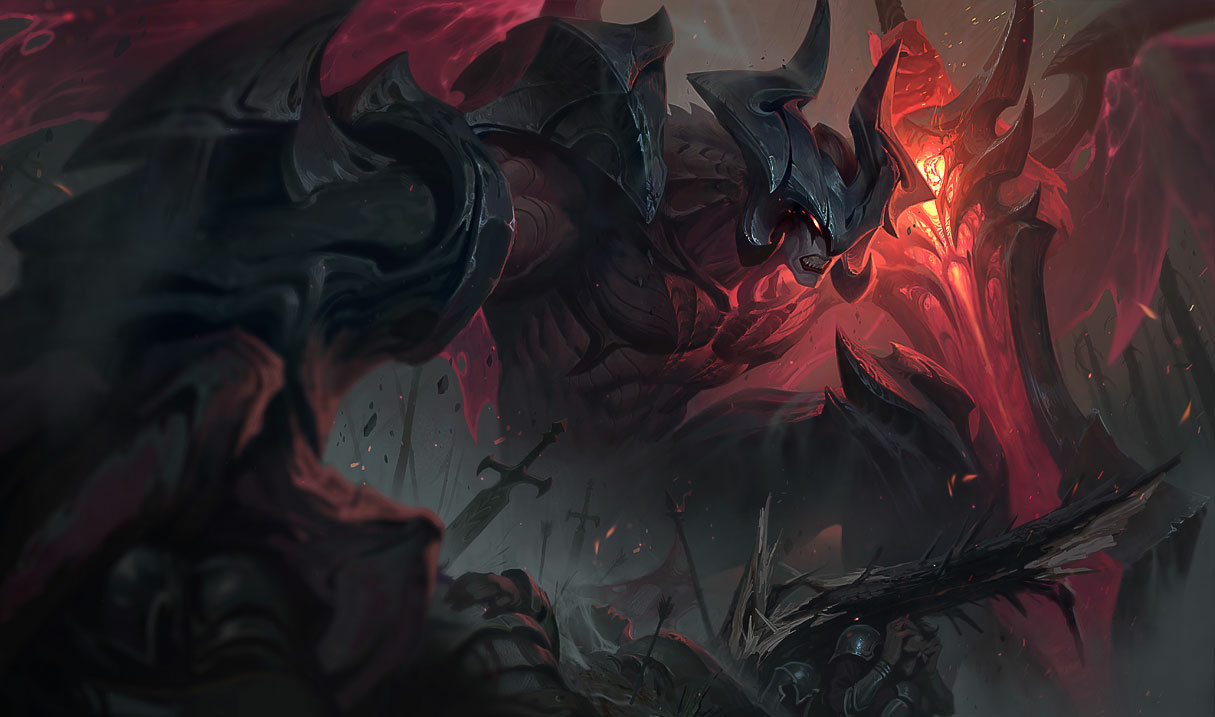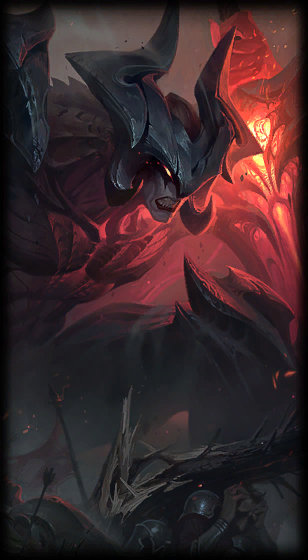

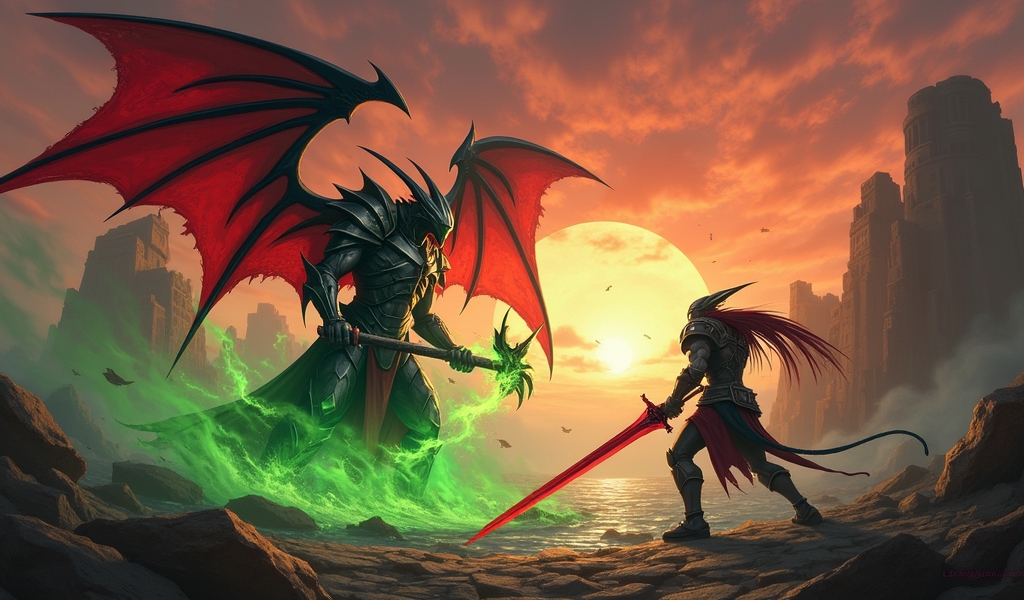
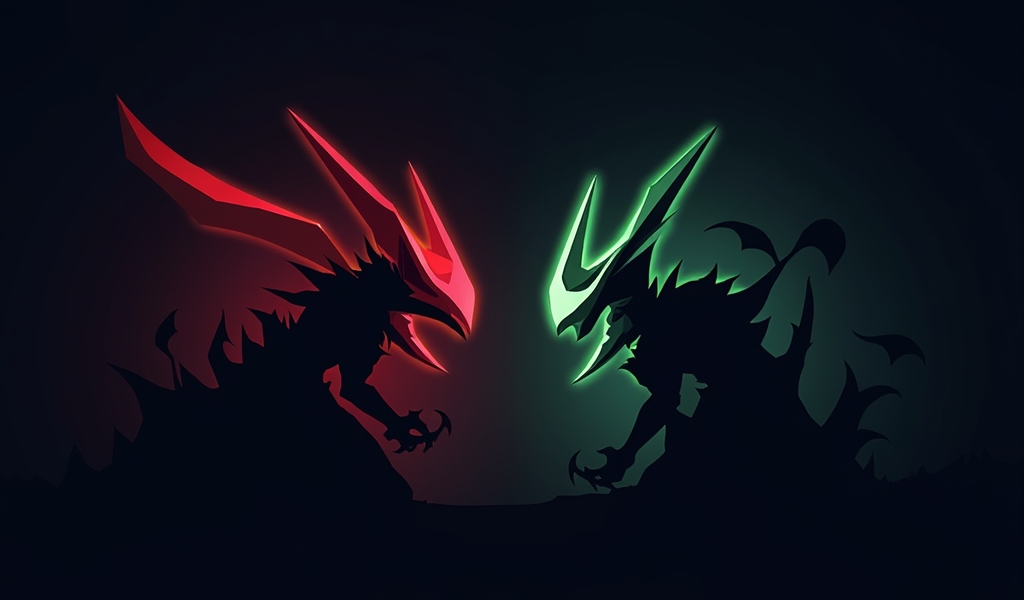
Aatrox vs Mordekaiser: 5 Essential Tips to Dominate Top Lane
Find Your Counter Pick & Track Your Champion Pool
Use our free tools to counter any champion, take a quiz to find your perfect main, and track your practice sessions.
Overview
The Aatrox vs Mordekaiser matchup pits the combo-oriented Darkin Blade against the tanky Iron Revenant in one of League of Legends’ most exciting top lane confrontations. This clash fundamentally represents a battle between Aatrox’s mobility and precise positioning against Mordekaiser’s sustained damage and isolation potential, with success depending on mastery of wave management, trading patterns, itemization, cooldown tracking, and teamfight execution.
Table of Contents
The clash between the Darkin Blade and the Iron Revenant is one of League of Legends’ most exciting top lane matchups. The Aatrox vs Mordekaiser battle pits two powerhouse champions with distinct playstyles and strengths against each other. Whether you’re piloting the aggressive, combo-oriented Aatrox or the tanky, AP-heavy Mordekaiser, understanding this matchup is crucial for climbing the ranked ladder.
In this comprehensive guide, we’ll break down everything you need to know about the Aatrox vs Mordekaiser matchup. From early game strategy to late-game teamfighting, you’ll discover actionable tips that can help you gain an edge in this challenging top lane confrontation.
Understanding the Matchup: Aatrox vs Mordekaiser
The Aatrox vs Mordekaiser matchup is fundamentally a battle between mobility and raw power. Aatrox’s combat style revolves around precise positioning and landing his Q sweet spots, while Mordekaiser relies on sustained damage and his Death Realm ultimate to isolate targets.
Both champions feature strong sustain mechanisms – Aatrox through his E passive omnivamp and Mordekaiser via his W shield and heal. However, they approach lane dominance differently. Aatrox excels in short, bursty trades with his Q-W-Q-E-Q combo, while Mordekaiser wants to extend fights to maximize his passive damage.
Understanding these fundamental differences is your first step toward mastering the Aatrox vs Mordekaiser matchup. Now, let’s dive into the specific strategies that will help you gain the upper hand.
Tip 1: Master Wave Management for Early Advantage
Wave management is perhaps the most underrated yet crucial aspect of winning the Aatrox vs Mordekaiser matchup. How you control the minion wave directly impacts your ability to trade, all-in, and avoid ganks.
For Aatrox players:
- Freeze the wave near your tower during early levels (1-3) to force Mordekaiser to overextend
- Use your Q’s range advantage to last-hit safely without pushing
- After level 3, look to slow push and crash a large wave for a recall or roam opportunity
- Be cautious of using W on the wave as it can disrupt your freeze
For Mordekaiser players:
- Use your E to pull Aatrox into your minion wave for favorable trades
- Your passive can easily push waves, so maintain vision if you’re pushing aggressively
- Consider taking Teleport to match Aatrox’s potential wave clear advantage
- Don’t hesitate to use your W to secure cannon minions if needed
Proper wave management creates the foundation for everything else in this matchup. By controlling minions effectively, you dictate when and where fights happen – a massive advantage in the Aatrox vs Mordekaiser dynamic. As professional statistics show, the champion who establishes wave control early often maintains a CS and experience advantage throughout the game.
Tip 2: Optimize Your Trading Patterns
Trading efficiently is essential in the Aatrox vs Mordekaiser matchup, as both champions have built-in sustain mechanics. Knowing when and how to trade can make the difference between dominating your lane opponent or falling behind.
For Aatrox players:
- Initiate trades with your first Q, followed by W to prevent Mordekaiser’s retreat
- Save your E dash for repositioning your second or third Q sweet spot
- Disengage after landing your third Q to avoid Mordekaiser’s passive damage
- Be mindful that Mordekaiser’s power spike at level 6 can overcome your early advantage
For Mordekaiser players:
- Bait out Aatrox’s first two Q casts before engaging with E
- Time your W shield to absorb Aatrox’s third Q damage (his highest burst)
- Once Aatrox’s Q is on cooldown, activate your passive and chase him down
- At level 6, look for all-in opportunities with your ultimate to nullify Aatrox’s mobility advantage
Remember that trading isn’t just about dealing damage – it’s about creating favorable conditions for future engagements. A good trade should leave you with either a health advantage, a cooldown advantage, or a positioning advantage. In the context of Aatrox vs Mordekaiser, managing your cooldowns particularly well can create windows of opportunity where you can punish your opponent severely.
Tip 3: Adapt Your Itemization Strategy
Your item build plays a crucial role in determining who gains the upper hand in the Aatrox vs Mordekaiser matchup. Both champions benefit from specific counter-items that can dramatically shift the balance of power.
For Aatrox players:
- Rush Executioner’s Calling early to reduce Mordekaiser’s healing from W
- Consider Mercury’s Treads to reduce the duration of Mordekaiser’s crowd control
- Black Cleaver helps shred Mordekaiser’s armor while providing valuable HP
- Maw of Malmortius can be a lifesaver against Mordekaiser’s magic damage in the mid-game
For Mordekaiser players:
- Seeker’s Armguard is an excellent early purchase to reduce Aatrox’s physical damage
- Oblivion Orb applies Grievous Wounds, countering Aatrox’s healing
- Rylai’s Crystal Scepter helps you stick to Aatrox despite his mobility
- Zhonya’s Hourglass provides a crucial active to survive Aatrox’s all-in attempts
Item adaptability is particularly important in this matchup. Rather than blindly following a standard build, observe how the lane is developing and adjust accordingly. If you’re ahead, prioritize damage items to snowball your advantage. If behind, focus on defensive options that allow you to farm safely and scale into the mid-game.
According to League of Graphs statistics, players who adapt their builds based on matchups consistently achieve higher win rates than those who follow static item paths. This flexibility is especially important in volatile matchups like Aatrox vs Mordekaiser where small advantages can quickly snowball.
Tip 4: Exploit Cooldown Windows
In the Aatrox vs Mordekaiser matchup, cooldown management is a critical skill that can create windows of opportunity for aggressive plays. Both champions rely heavily on their abilities, making cooldown tracking a powerful tool.
For Aatrox players:
- Mordekaiser’s E (Death’s Grasp) has a 24-second cooldown at level 1 – exploit this window aggressively
- Track Mordekaiser’s W (Indestructible) cooldown (~14 seconds) as it’s his primary defensive tool
- After Mordekaiser uses his ultimate, you have approximately 140-120 seconds to force advantageous fights
- Consider counter-pick strategies if you’re particularly struggling with cooldown management
For Mordekaiser players:
- Aatrox’s Q (The Darkin Blade) has a 16-12 second cooldown – engage when it’s down
- Bait out Aatrox’s E (Umbral Dash) before using your ultimate, as he can use it to reposition
- Track Aatrox’s ultimate cooldown (120-80 seconds) to avoid fighting him during his power spike
- Remember that Aatrox without cooldowns is significantly weaker than Mordekaiser without cooldowns
Cooldown tracking becomes even more important after the laning phase. During teamfights, knowing when key abilities are available can determine whether you engage, disengage, or look for a flank. This skill is what often separates average players from great ones in the Aatrox vs Mordekaiser matchup.
Tip 5: Implement Effective Teamfight Tactics
While the laning phase is important, many games are decided by teamfight execution. Understanding your role in teamfights as either Aatrox or Mordekaiser can lead to game-winning plays even if you didn’t dominate the Aatrox vs Mordekaiser lane matchup.
For Aatrox players:
- Position on the flanks to find angles for multi-champion Q sweet spots
- Target priority should generally be enemy backline, unlike in the Aatrox vs Darius matchup where you might focus the frontline
- Time your ultimate for maximum value when you can hit multiple enemies and sustain through their damage
- Look for flash-Q3 engages that can catch multiple opponents for your team to follow up
- Similar to Aatrox vs Camille scenarios, use your mobility to kite around teamfights
For Mordekaiser players:
- Identify and isolate the most dangerous enemy with your ultimate (usually the ADC or fed carry)
- Use your E to peel for your backline or to pull key targets into your team
- Maximize your passive damage by staying in the center of teamfights
- Consider zoning enemy carries away from objectives rather than diving directly
- Unlike Aatrox vs Fiora scenarios, you want to stay grouped with your team before key ultimates
Remember that your impact extends beyond the 1v1 matchup. Even if you struggled in lane, you can still provide immense value to your team through proper teamfighting. Many players make the mistake of tunneling on the Aatrox vs Mordekaiser matchup when the game has progressed to a stage where broader team coordination matters more.
Both champions excel at different aspects of teamfighting. Aatrox offers exceptional AoE damage and disruption, while Mordekaiser can completely remove a key target from the fight. Understanding these strengths allows you to maximize your contribution regardless of how the laning phase went.
Gear That Helps You Climb
The right mouse, keyboard, and monitor won’t win you games — but they remove excuses. See what the pros actually use.
View Recommended Gear Mice, keyboards, monitors, headsets & more — researched from pro setupsConclusion
Mastering the Aatrox vs Mordekaiser matchup requires a deep understanding of both champions’ strengths, weaknesses, and win conditions. The early laning phase often revolves around wave management and cooldown tracking, while the mid to late game tests your itemization, decision-making, and teamfight execution.
Remember that this matchup is dynamic – what works in one game might not work in another depending on jungle presence, team compositions, and individual skill levels. Stay adaptable and focus on implementing the core principles we’ve discussed rather than following a rigid playbook.
Whether you’re piloting the Darkin Blade or the Iron Revenant, understanding the nuances of the Aatrox vs Mordekaiser confrontation will help you climb the ranked ladder and improve your overall top lane performance. Unlike Aatrox vs Renekton or Aatrox vs Jax matchups, this one rewards methodical play and strategic thinking over pure mechanical outplays.
Take these five essential tips into your next game, practice them consistently, and you’ll soon find yourself dominating the top lane in this exciting matchup.
Frequently Asked Questions
Who wins late game in Aatrox vs Mordekaiser?
Mordekaiser typically scales better into the late game due to his percent health damage and ability to isolate targets. However, Aatrox can still be effective in team fights with proper positioning and target selection.
Should Aatrox build Grievous Wounds against Mordekaiser?
Yes, Executioner’s Calling or Oblivion Orb is highly recommended against Mordekaiser to reduce his healing from W. This investment significantly reduces his sustain in extended trades.
Can Mordekaiser ult Aatrox during his ultimate?
Yes, Mordekaiser can use Death Realm on Aatrox even during World Ender. This can be an effective way to neutralize Aatrox’s teamfight presence, though be cautious as Aatrox gains considerable stats during his ultimate.
How should I position as Aatrox against Mordekaiser?
Position at the edge of your Q range to harass Mordekaiser while avoiding his E pull and passive. Save your E dash for dodging his E or repositioning for Q sweet spots rather than engaging.
Which runes are best for Mordekaiser against Aatrox?
Conqueror is optimal as the primary rune, paired with Resolve secondary (Second Wind and Revitalize/Unflinching). This combination provides sustain against Aatrox’s poke and enhanced healing/tenacity for all-ins.