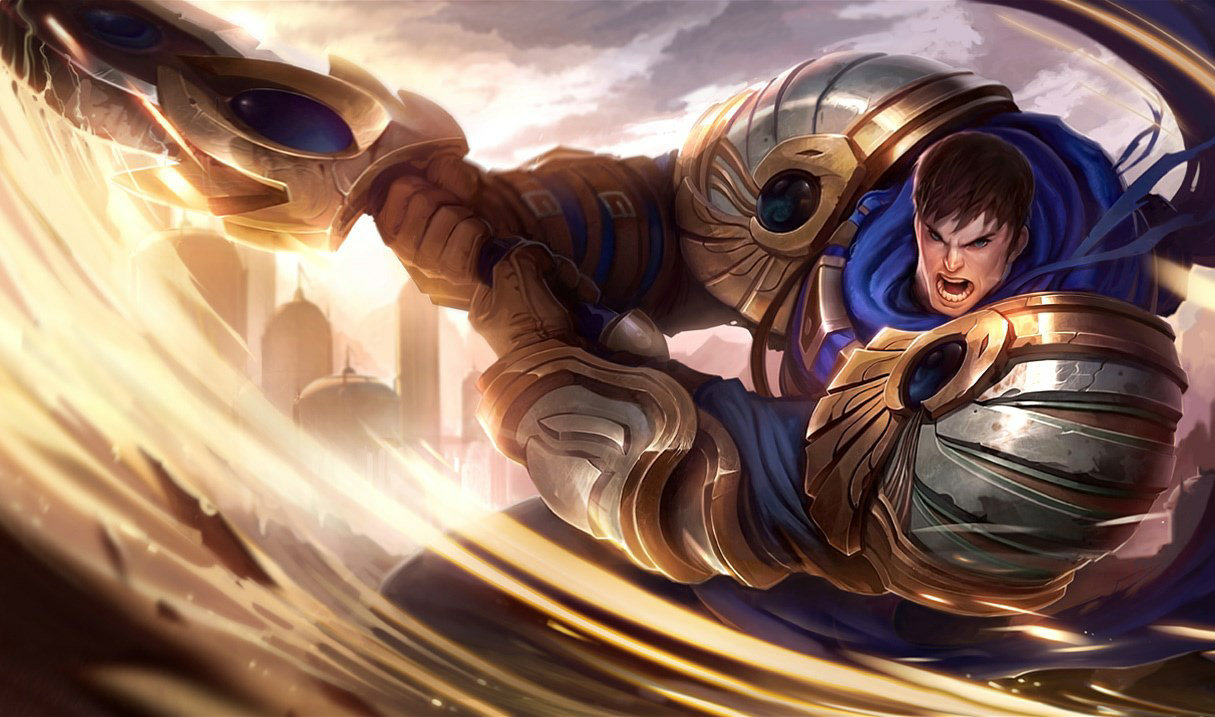
How to Play Tryndamere: 7 Essential Tips for Dominating Top Lane
Find Your Counter Pick & Track Your Champion Pool
Use our free tools to counter any champion, take a quiz to find your perfect main, and track your practice sessions.
Overview
How to play Tryndamere effectively involves mastering his unique Fury resource, split pushing strategy, and understanding proper trading patterns to dominate the top lane. The Barbarian King excels through relentless side lane pressure, unmatched dueling potential with his Undying Rage ultimate, and strategic item builds focused on attack speed and critical strike chance rather than traditional teamfighting.
Table of Contents
Learning how to play Tryndamere effectively can transform your top lane experience in League of Legends. This undying barbarian king is known for his incredible dueling potential, late-game scaling, and ability to apply relentless pressure through split pushing. In this comprehensive guide, we’ll explore seven essential tips that will help you master Tryndamere and dominate the top lane, regardless of your current rank. Whether you’re a complete beginner or looking to refine your skills, these strategies will elevate your Tryndamere gameplay to new heights.
Understanding Tryndamere’s Strengths and Weaknesses
Before diving into specific strategies, let’s understand what makes Tryndamere tick. The Barbarian King excels as a hypercarry who can take over games through relentless pressure and unmatched dueling power.
Tryndamere’s greatest strength lies in his ability to create side lane pressure through split pushing while maintaining exceptional 1v1 potential. His ultimate, Undying Rage, allows him to stay alive for 5 crucial seconds even at 1 HP, making him one of the most frustrating champions to deal with in extended fights.
However, Tryndamere isn’t without weaknesses. He struggles against heavy crowd control, can be kited by ranged champions, and offers limited utility to his team. Furthermore, his early game can be exploited by certain matchups before he reaches his power spikes.
Understanding these fundamental strengths and weaknesses is crucial for maximizing your effectiveness with Tryndamere. Unlike tank champions like Trundle who excels at different objectives, Tryndamere’s purpose is to apply constant pressure and force the enemy team to respond to his presence.

Mastering Tryndamere’s Early Game: The Path to Dominance
The early game is arguably the most critical phase for Tryndamere players. Your goal is to survive, farm efficiently, and look for strategic trades that don’t compromise your lane position.
Optimal Runes and Build Paths for Success
Selecting the right runes and items is essential for maximizing Tryndamere’s potential. Here’s a breakdown of the most effective setups:
For runes, Lethal Tempo is generally the optimal keystone as it provides Tryndamere with increased attack speed that synergizes perfectly with his critical strike passive. The extended attack range from fully stacked Lethal Tempo also helps with sticking to targets.
Secondary runes should focus on either Resolve for survivability in difficult matchups or Inspiration for utility and sustain. Key minor runes include:
- Triumph for health restoration after takedowns
- Legend: Alacrity for additional attack speed
- Last Stand to maximize damage while at low health
For items, Tryndamere’s core build typically revolves around attack speed, critical strike chance, and mobility. According to official statistics, the most successful build path includes:
- Kraken Slayer or Galeforce as your mythic item (Galeforce for mobility, Kraken for pure damage)
- Navori Quickblades to reduce your ability cooldowns
- Infinity Edge for increased critical strike damage
- Mortal Reminder against healing-heavy compositions
- Guardian Angel for a second chance in crucial late-game scenarios
Boots choice typically falls between Berserker’s Greaves for more attack speed or Mercury Treads when facing heavy crowd control. Against AD-heavy teams, consider Plated Steelcaps to enhance your survivability.
Unlike Master Yi who thrives on similar items, Tryndamere places a higher premium on split pushing tools rather than pure assassination potential.
Fury Management: The Key to Tryndamere’s Power
Mastering Tryndamere’s unique Fury resource is essential for dominating the top lane. Fury is what powers Tryndamere’s passive, which grants him increasing critical strike chance (up to 40% at full Fury).
Building and maintaining Fury should be a constant focus throughout the game. Here are key strategies for effective Fury management:
- Generate Fury by auto-attacking minions, monsters, or champions
- Try to enter fights with full or near-full Fury for maximum critical strike chance
- Use Q (Bloodlust) strategically – activate it for healing when needed, but remember it consumes Fury
- Consider letting your Fury drop only when you’re safely recalling or when you absolutely need the heal
The most successful Tryndamere players maintain high Fury levels before engaging in trades. This approach gives you a significant advantage through increased critical strike chance, often allowing you to win trades that would otherwise be unfavorable.
Remember that your Fury decays when out of combat, so try to keep attacking something whenever possible to maintain this resource. In certain matchups against champions like Darius with strong early pressure, proper Fury management becomes even more crucial for survival.
Trading Patterns and Lane Dominance
Establishing lane dominance as Tryndamere requires understanding proper trading patterns. Unlike many top laners, Tryndamere’s trading style is heavily influenced by randomness (critical strikes) and resource management (Fury).
The most effective trading pattern with Tryndamere follows this sequence:
- Build Fury to at least 50-75% before considering aggressive trades
- Use E (Spinning Slash) to engage when the enemy has used key abilities
- Auto-attack with potential crits while using W (Mocking Shout) to reduce enemy AD
- Disengage with the movement speed from successful crits or a second E if needed
One of Tryndamere’s unique strengths is his ability to all-in opponents at level 6. Many players underestimate the power of Undying Rage, allowing you to dive with relative safety. This creates tremendous pressure that few champions can match.
When facing ranged matchups or champions like Fiora with strong parry abilities, you’ll need to adapt your trading pattern. Consider shorter trades or wait for jungle assistance before committing fully.
According to professional analysis of Tryndamere’s playstyle, the most successful players maintain a balance between aggressive trading and strategic farming, especially in difficult matchups.
Split Pushing: Tryndamere’s Ultimate Strategy
Split pushing is where Tryndamere truly shines. His ability to take towers quickly, win 1v1 duels, and escape potential collapses makes him one of the premier split pushers in League of Legends.
Effective split pushing with Tryndamere involves several key principles:
- Push waves quickly using E (Spinning Slash) and Tiamat/Ravenous Hydra if built
- Maintain vision control through strategic ward placement
- Time your pressure to coincide with objectives on the opposite side of the map
- Know when to commit to a tower and when to back off based on enemy movements
- Use your ultimate (Undying Rage) to buy time for your team when multiple enemies respond to your push
The most common mistake with Tryndamere’s split pushing is failing to track the enemy team. Always keep an eye on the minimap and be prepared to retreat or use your ultimate when necessary. Unlike Jax who has stronger teamfight potential, your primary value comes from creating side lane pressure.
For maximum effectiveness, communicate with your team about your split pushing intentions. This coordination ensures they can capitalize on the pressure you create by securing objectives elsewhere on the map.
Remember that Tryndamere excels at taking inhibitors and can even backdoor the enemy base in certain situations. His combination of high damage, critical strikes, and Undying Rage makes him a constant threat that the enemy team must respect.
Teamfighting Tips for the Barbarian King
While Tryndamere is primarily known for split pushing, understanding how to teamfight effectively is crucial for situations where grouping is unavoidable.
Tryndamere’s teamfighting approach differs significantly from traditional frontliners like Garen or other beefy top laners. Your role in teamfights should typically follow these guidelines:
- Look for flanking opportunities rather than frontlining
- Target priority should be enemy backline carries
- Use your ultimate strategically – often it’s best to delay activation until you’re at very low health
- Save your E (Spinning Slash) for gap closing or escaping rather than damage
- Consider waiting for major crowd control abilities to be used before fully committing
Timing is everything when teamfighting as Tryndamere. Unlike Nasus who can frontline with his ultimate, you need to find the right moment to enter the fight – usually after key crowd control abilities have been used.
Be especially mindful of enemy crowd control that can render you ineffective during your ultimate duration. Champions with point-and-click crowd control like Lissandra or Malzahar can completely neutralize your effectiveness if you don’t time your engages properly.
In many cases, the threat of joining a teamfight is actually more valuable than participating. If you’ve created enough pressure through split pushing, the enemy team will be forced to make difficult decisions about resource allocation, often leading to advantages elsewhere on the map.
Gear That Helps You Climb
The right mouse, keyboard, and monitor won’t win you games — but they remove excuses. See what the pros actually use.
View Recommended Gear Mice, keyboards, monitors, headsets & more — researched from pro setupsConclusion
Mastering how to play Tryndamere effectively requires understanding his unique strengths and limitations. From proper Fury management to strategic split pushing, these seven essential tips will help you dominate the top lane and carry games consistently.
Remember that Tryndamere’s playstyle rewards patience, calculated aggression, and map awareness. Unlike champions who thrive in 5v5 teamfights, your goal is to create constant side lane pressure that forces the enemy team to respond, creating opportunities for your team elsewhere.
By following these strategies and continuously refining your mechanics, you’ll join the ranks of formidable Tryndamere players who strike fear into their opponents. Whether you’re facing tanks like Olaf with strong sustain or skirmishers with high mobility, Tryndamere’s kit provides the tools you need to outplay and outpressure your opponents.
The path to mastery may be challenging, but few feelings in League of Legends compare to carrying a game as an unstoppable split pushing Tryndamere. Now take these tips into your next match and let the rage of the barbarian king fuel your climb up the ranked ladder!
Frequently Asked Questions
Is Tryndamere good for beginners in League of Legends?
Yes, Tryndamere is relatively beginner-friendly due to his straightforward kit and forgiving ultimate that prevents death. His mechanics are simple to understand but offer depth for mastery as you improve.
How do I deal with being kited as Tryndamere?
Combat being kited by building items like Galeforce for the dash effect and utilizing Approach Velocity in your runes if possible. Always save your E (Spinning Slash) to close gaps rather than using it for damage early in a fight.
When should I use Tryndamere’s ultimate?
Ideally, activate Tryndamere’s ultimate (Undying Rage) when you’re at very low health to maximize its effectiveness. This baits enemies into wasting abilities while giving you 5 seconds of uninterrupted damage output.
Which champions counter Tryndamere in top lane?
Tryndamere struggles against champions with strong kiting abilities and crowd control such as Malphite, Quinn, and Tahm Kench. Champions with attack speed slows like Nasus and Frozen Heart builders also present challenges.
Should I group with my team or split push as Tryndamere?
In most scenarios, split pushing is Tryndamere’s optimal strategy due to his excellent 1v1 potential and tower taking ability. Only group when contesting major objectives like Baron or Elder Dragon if your team absolutely needs your presence.